
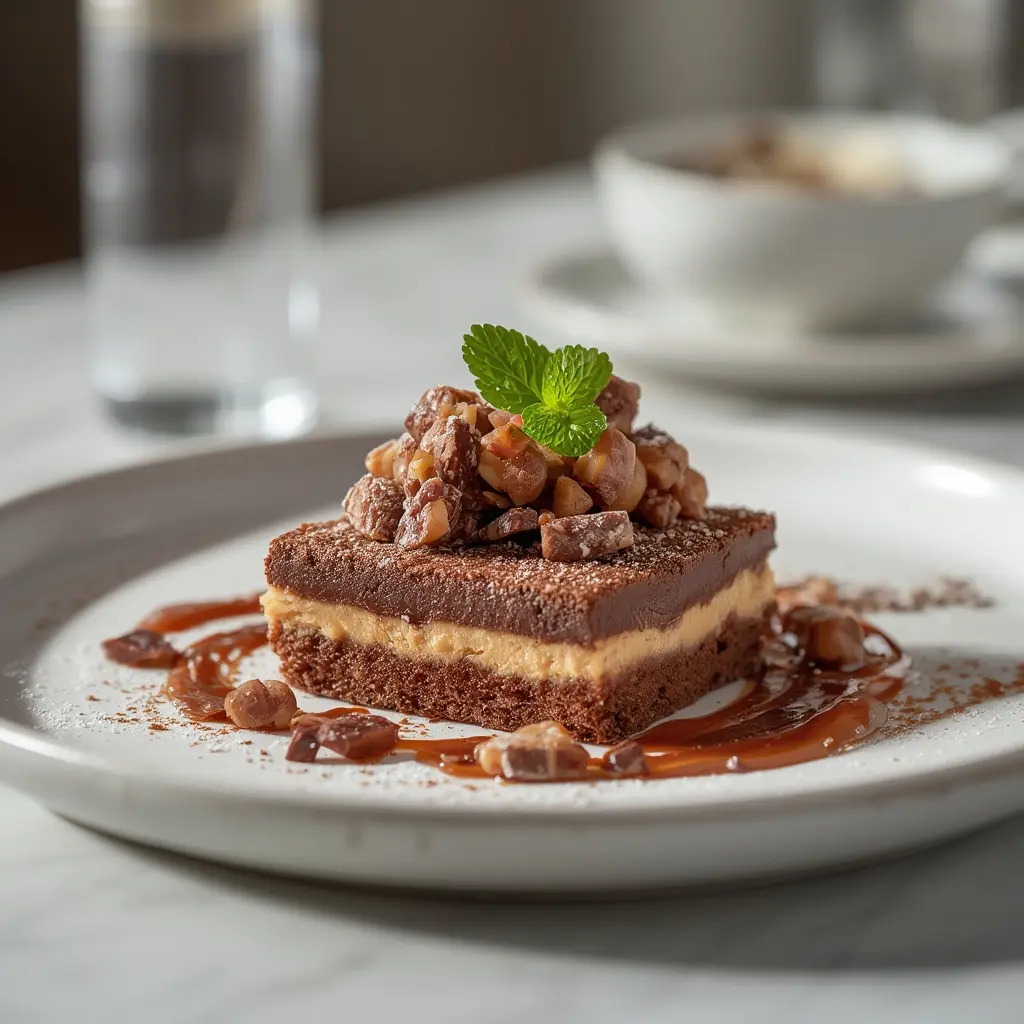
No-Bake Chocolate PB Bars are the ultimate fuss-free indulgence, combining the irresistible flavors of peanut butter and chocolate into one delectable treat. These bars require zero oven time, making them a perfect dessert for any occasion, especially when you need something quick and easy. Imagine creamy peanut butter mixed with a crunchy graham cracker base, topped with a rich, decadent chocolate layer that sets perfectly in the fridge.
This recipe for Chocolate PB Bars is incredibly simple, using minimal ingredients found in most pantries, and comes together in mere minutes of active prep time. They are ideal for satisfying a sudden sweet craving, preparing for a last-minute gathering, or simply enjoying a delightful homemade dessert without the hassle of baking.
Table of Contents
My earliest memories of No-Bake Chocolate PB Bars take me back to childhood potlucks and family gatherings. There was always that one aunt who would bring a tray of these irresistible squares, and they’d disappear faster than any other dessert. The simplicity of their preparation always fascinated me – no complex techniques, no demanding oven temperatures, just pure, unadulterated deliciousness achieved through a few pantry staples.
This recipe is a homage to those nostalgic flavors, capturing the essence of a classic homemade treat. Learning how to prevent common issues like the bars being too soft or crumbly, often due to incorrect ingredient ratios or insufficient chilling, was a game-changer for perfecting my own batch of Chocolate PB Bars, ensuring they always turn out firm and perfect.
Why You’ll Love This
- No-Bake Chocolate PB Bars are incredibly easy to make with minimal effort.
- They offer a perfect balance of sweet, salty, and rich flavors.
- This recipe is highly customizable to suit various tastes and dietary needs.
💡 Try This Next: Chocolate lovers will enjoy this dedicated chocolate collection.
What Makes Chocolate PB Bars Special
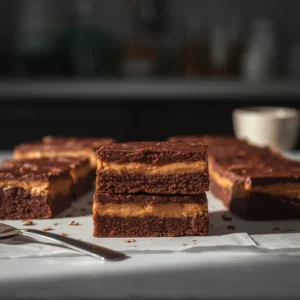
What truly sets No-Bake Chocolate PB Bars apart is their incredible ease of preparation coupled with their rich, satisfying flavor profile. They deliver that classic peanut butter and chocolate combination that’s universally loved, but without the need for an oven. This makes them an accessible dessert for even beginner cooks or those with limited kitchen equipment. The textural contrast between the dense, slightly crumbly peanut butter base and the smooth, firm chocolate topping is simply divine. Furthermore, their make-ahead nature is a huge bonus; you can whip them up hours or even a day in advance, allowing them to chill perfectly and develop their flavors.
When thinking about variations, many wonder, “Can I make no-bake chocolate PB bars without graham crackers?” The answer is yes, with alternative crunchy bases like crushed Oreos or even gluten-free cookies, showing just how versatile these bars are.
Key Ingredients for Chocolate PB Bars
- Graham Crackers: The backbone of the crunchy, sweet base. Crush them finely for best results.
- Unsalted Butter: Binds the base ingredients and adds richness. Also used in the chocolate topping.
- Powdered Sugar: Essential for sweetness and the smooth, dense texture of the peanut butter layer.
- Creamy Peanut Butter: The star of the show, providing flavor and body to the base. Opt for creamy, not natural, for consistent texture.
- Semi-Sweet Chocolate Chips: Forms the decadent top layer. High-quality chips melt smoothly.
- Shortening/Coconut Oil: Optional but recommended for a glossier, more pliable chocolate topping that’s less prone to cracking.
How to Make Chocolate PB Bars: Step-by-Step
- Step 1: Prepare Your Pan
- Line a 9×13 inch baking pan with parchment paper, allowing some overhang on the sides. This is critical for easy removal once your Chocolate PB Bars are set. Lightly grease the pan if needed to secure the parchment.
- Step 2: Create the Base
- In a large bowl, combine the crushed graham cracker crumbs, melted butter, powdered sugar, and creamy peanut butter. Mix thoroughly until a uniform, thick mixture forms. Ensure there are no dry spots, as this can affect the bar’s consistency. This step addresses why your bars might be too soft or crumbly if not mixed well.
- Step 3: Press the Base
- Evenly press the peanut butter mixture into the prepared pan. Use the back of a spoon or a flat-bottomed glass to compact it firmly. A well-compressed base is key to bars that hold together beautifully.
- Step 4: Melt the Chocolate Topping
- In a microwave-safe bowl, combine chocolate chips, butter, and the optional shortening or coconut oil. Heat in short bursts, stirring until completely smooth. Avoid overheating to prevent a grainy texture.
- Step 5: Apply the Topping
- Pour the melted chocolate over the peanut butter base, spreading it gently and evenly to the edges. Work quickly before the chocolate begins to set.
- Step 6: Chill Thoroughly
- Refrigerate the pan for at least 2 hours, or until the chocolate layer is completely firm. Patience here pays off, as proper chilling is vital for the bars to set and for clean cutting. For the best way to cut no-bake chocolate PB bars cleanly, ensure they are fully chilled.
- Step 7: Cut and Serve
- Lift the bars out of the pan using the parchment paper handles. Place on a cutting board and use a sharp knife, warmed under hot water and wiped dry, to cut into squares or rectangles. This trick helps achieve clean, neat slices.
📚 Read More: Learn chocolate tempering secrets at Buz Kitchen.
Storing Your Chocolate PB Bars
Proper storage is key to maintaining the freshness and integrity of your No-Bake Chocolate PB Bars. Once cut, transfer the bars to an airtight container. They should be stored in the refrigerator, where they will remain fresh for up to one week. If you stack them, placing a piece of parchment paper between layers will prevent them from sticking together.
This addresses the common question, “How long do no-bake chocolate PB bars last in the fridge?” For longer storage, you might wonder, “Can I freeze no-bake chocolate peanut butter bars?” Yes, you can! Individually wrap each bar in plastic wrap, then place them in a freezer-safe container or bag. They can be frozen for up to 2-3 months. Thaw them in the refrigerator for a few hours before serving for the best texture.
Chocolate PB Bars Variations & Substitutions
One of the best things about No-Bake Chocolate PB Bars is their adaptability. If you’re looking for different flavor profiles or have dietary restrictions, there are many ways to customize them. For the base, if you can’t have graham crackers, consider using finely crushed digestive biscuits, vanilla wafers, or even gluten-free shortbread cookies.
This directly answers the question, “Can I make no-bake chocolate PB bars without graham crackers?” For the peanut butter, feel free to substitute with almond butter, cashew butter, or a seed butter like sunflower seed butter for a nut-free version. You might need to adjust the amount of powdered sugar slightly depending on the consistency of the alternative butter. For the chocolate topping, experiment with dark chocolate, milk chocolate, or even white chocolate for a different look and taste. A sprinkle of flaky sea salt on top of the melted chocolate before it sets adds a sophisticated touch, balancing the sweetness beautifully.
Serving Suggestions for Chocolate PB Bars
No-Bake Chocolate PB Bars are delightful on their own, but a few simple serving suggestions can elevate them even further. They make a fantastic addition to any dessert platter, especially alongside other no-bake treats like rice crispy treats or fruit tarts. For a more indulgent experience, warm a bar slightly in the microwave for a few seconds until the chocolate is just starting to soften, then serve it with a scoop of vanilla bean ice cream.
A drizzle of extra melted peanut butter or a sprinkle of chopped peanuts or miniature chocolate chips over the top just before serving adds visual appeal and a textural crunch. These bars are also excellent for school lunches, picnics, or a quick energy boost after a workout, providing a satisfying blend of sweet and savory flavors that truly hit the spot.
The History of Chocolate PB Bars
The exact origin of No-Bake Chocolate PB Bars is a bit fuzzy, but these beloved treats gained significant popularity in America during the mid-20th century. With the rise of convenience foods and a desire for easy-to-make desserts, no-bake recipes flourished. The combination of peanut butter and chocolate, a pairing that became iconic thanks to candies like Reese’s Peanut Butter Cups, naturally found its way into home baking.
These bars, often appearing in community cookbooks, church bake sales, and family recipes, capitalized on readily available ingredients like graham crackers, powdered sugar, peanut butter, and chocolate chips. Their simplicity and irresistible flavor made them a staple, evolving into countless variations while maintaining their core appeal as a fuss-free, crowd-pleasing dessert that continues to be cherished today.
Whether you’re a seasoned baker or a kitchen novice, these No-Bake Chocolate PB Bars are an absolute must-try. Their straightforward preparation, delightful texture, and classic flavor combination make them an undeniable hit for any occasion. From satisfying a late-night craving to impressing guests at a potluck, these Chocolate PB Bars consistently deliver on taste and convenience. So go ahead, whip up a batch, chill them to perfection, and experience the joy of a truly effortless and delicious homemade dessert. You’ll quickly understand why this timeless treat remains a favorite for so many.
Pro Tips
- For extra neat cuts, wipe your knife clean and warm it with hot water between each slice.
- If your chocolate is too thick to spread easily, add another teaspoon of shortening or coconut oil when melting.
- Always use creamy peanut butter (not natural or chunky) for the best texture in the base.
💡 Try This Next: For more indulgent treats, explore our chocolate recipes.
FAQs
Are there any healthy substitutes for butter in no-bake PB bars?
Why is the chocolate topping on my PB bars cracking?
Can I use different types of nut butter in this recipe?
How can I prevent the peanut butter layer from sticking to the pan?
What’s the secret to a perfectly smooth chocolate topping?
No-Bake Chocolate PB Bars
Ingredients
For the Base
- 1 ¾ cups finely crushed graham cracker crumbs about 1 sleeve
- ¾ cup unsalted butter, melted
- 1 cup powdered sugar
- 1 cup creamy peanut butter
For the Topping
- 1 ½ cups semi-sweet chocolate chips
- 4 tbsp unsalted butter
- 1 tbsp shortening or coconut oil optional, for gloss
Instructions
- Prepare the Pan: Line a 9×13 inch baking pan with parchment paper, leaving an overhang on all sides. This will make it easier to lift the bars out later. Lightly grease the bottom if desired to help the parchment stick.
- Mix the Base: In a large bowl, combine the finely crushed graham cracker crumbs, melted butter, powdered sugar, and creamy peanut butter. Stir well with a spoon or spatula until all ingredients are thoroughly combined and form a thick, cohesive mixture.
- Press into Pan: Press the peanut butter mixture evenly into the prepared baking pan. Use the back of a spoon or your hands to press it down firmly and create a compact, even layer. Set aside.
- Melt Chocolate Topping: In a microwave-safe bowl, combine the chocolate chips, 4 tablespoons of butter, and optional shortening or coconut oil. Microwave in 30-second intervals, stirring after each, until the mixture is smooth and fully melted. Be careful not to overheat the chocolate.
- Pour Topping: Pour the melted chocolate mixture evenly over the peanut butter base. Use an offset spatula or the back of a spoon to gently spread it from edge to edge, ensuring full coverage.
- Chill and Set: Place the pan in the refrigerator for at least 2 hours, or until the chocolate topping is completely set and firm. For the cleanest cuts, it’s crucial that the bars are thoroughly chilled.
- Cut and Serve: Once firm, use the parchment paper overhang to lift the entire slab of No-Bake Chocolate PB Bars out of the pan. Place on a cutting board. Use a sharp knife, warmed under hot water and wiped dry, to cut the bars into desired squares or rectangles. Serve immediately or store as directed.
Notes
- For extra neat cuts, wipe your knife clean and warm it with hot water between each slice.
- If your chocolate is too thick to spread easily, add another teaspoon of shortening or coconut oil when melting.
- Always use creamy peanut butter (not natural or chunky) for the best texture in the base.